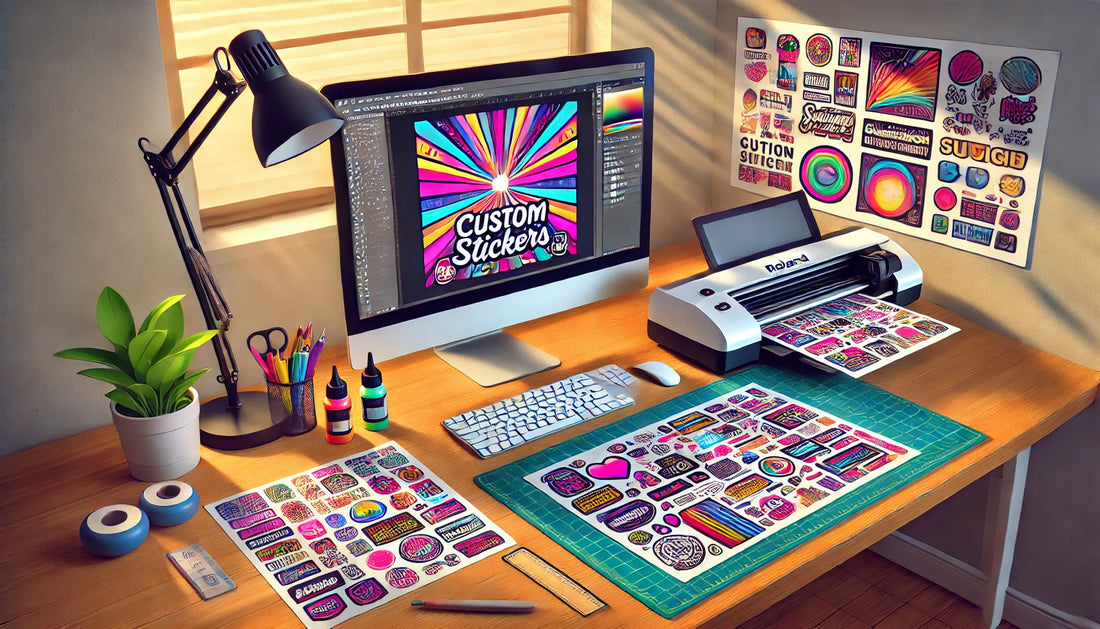
Mastering Sticker File Prep in Adobe Illustrator: A Step-by-Step Guide
Share
Introduction
If you've ever dreamed of creating custom stickers to sell or enhance your art brand, Adobe Illustrator is your best friend. However, preparing sticker files for printing and cutting can be a bit daunting for beginners. From setting up a "CutContour" spot color to saving the file as an EPS format, there are a few technical steps you need to get just right.
In this guide, we'll simplify the process, covering everything from using vector art to exporting your stickers for machines like the Roland BN-20. Plus, we’ll introduce you to tools like my Adobe Illustrator Boot Camp to help you master these techniques and grow your sticker business.
Why Adobe Illustrator is Ideal for Sticker Design
Adobe Illustrator is the gold standard for creating custom stickers because it allows for precise vector-based artwork. Whether you’re creating kiss-cut or die-cut designs, Illustrator’s tools ensure your stickers are production-ready, regardless of size or material.
Key features that make Illustrator perfect for sticker prep include:
- Vector precision: Ensures artwork remains sharp at any size.
- Layer control: Essential for creating complex designs and cut paths.
- Spot colors: Necessary for machines to recognize the cut lines.
What You’ll Need to Get Started
Before diving into file preparation, ensure you have:
- Adobe Illustrator installed (preferably the latest version).
- A clear understanding of spot colors and vector layers.
- Access to a vinyl printer/cutter like the Roland BN-20 or Cricut machine.
- My instructional YouTube video for visual guidance.
Step-by-Step Guide: Preparing Sticker Files in Adobe Illustrator
1. Design Your Sticker in Illustrator
Start by creating your artwork. Use layers to separate design elements, and ensure your color mode is set to CMYK for printing.
- Add 0.125-inch bleeds to your design to prevent unwanted edges during cutting.
- Ensure your artwork is in vector format for scalability.
2. Set Up the “CutContour” Spot Color
The magic of professional sticker cutting lies in the “CutContour” spot color.
- Open the Swatches panel in Illustrator.
- Create a new swatch and name it “CutContour.”
- Set the color type to Spot Color and assign it a bright, recognizable color like magenta.
- Apply this swatch to the path or shape that defines your sticker's cut line.
💡 Tip: Use the Outline Stroke option to ensure the cut line is distinct from your design.
3. Save Your File as an EPS
Most printers, like the Roland BN-20, require an EPS file for Versaworks software to read.
- Go to File > Save As and select EPS.
- In the EPS options, ensure that you preserve spot colors and include linked images.
- Double-check that your “CutContour” spot color remains intact in the saved file.
4. Test Your File
It’s always good practice to test your file in the printer software. If using a Roland BN-20 with Versaworks, import the file to confirm that the cut lines and artwork appear as intended.
Common Challenges and How to Overcome Them
1. Missing CutContour Spot Color:
Ensure the name matches exactly. Capitalization and spelling matter!
2. File Doesn’t Import Correctly:
Double-check that your file is saved as EPS and includes vector paths for cutting.
3. Overlapping Cut Lines:
Avoid overlapping shapes in your cut path to ensure clean sticker edges.
Why Practice Makes Perfect
Using Illustrator for sticker preparation can feel overwhelming at first, but like any skill, it gets easier with practice. My Adobe Illustrator Boot Camp is tailored for beginners who want to master these techniques quickly. You’ll learn how to handle everything from layers to file exporting while building confidence in your design skills.
Get Inspired: Turning Stickers Into a Business
Custom stickers are not only fun to create but also a profitable product. Platforms like Shopify and Etsy are perfect for showcasing your designs. With the right workflow in Adobe Illustrator, you can produce high-quality stickers that customers will love.
Learn more about selling stickers online from resources like Etsy’s Seller Handbook and Shopify’s guides on branding.
YOU GOT THIS!
Ready to start creating and selling stickers?
- Watch my video tutorial: How to Prepare Sticker Files in Illustrator.
- Enroll in my Illustrator Boot Camp: Adobe Illustrator Boot Camp to level up your skills.
- Follow me for more tips and inspiration:
Instagram @patrickscullin | X @patrickscullin
Don’t let the technical side of Illustrator hold you back. With the right guidance, you’ll be producing professional-grade stickers in no time!
